Wearing a chain wallet is more than just a fashion statement. It can actually give a person peace of mind by having one! Aside from a chain's stylish exterior and versatility, one of its key features is securing your wallet! It is the kind of accessory that you can comfortably use anywhere you may go because of its assurance of keeping your wallet safe and in place.
It provides protection to anyone's wallet. In addition, wallet chains are easy to wear and are highly functional! In this article, we would also share how you can connect a wallet to a chain. You will realize eventually how it is easily done. Some tips are also DIYed! Most of them need special tools for an outcome, but you don't have to worry because we made sure that they are all economically friendly and accessible! Let's get it on!
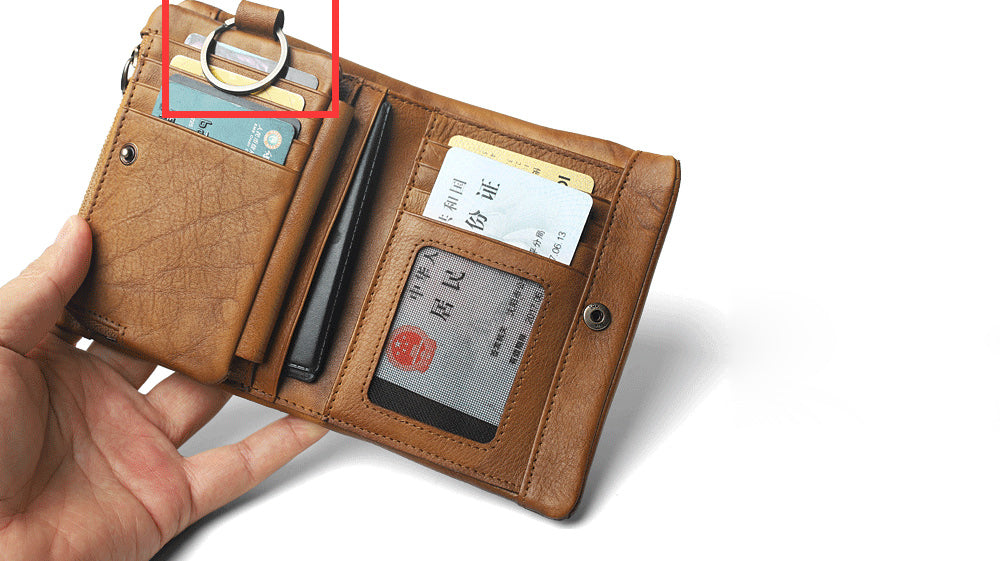
- First and foremost, a keychain wallet! Keychain wallets have already fixed keyrings inside it. Thus, connecting it to a chain is a lot easier! Get a chain that has a clasp on both ends. Simply connect one end to the keyring while the other clasp should be attached to a belt loop.
Biker wallets and Chain walletsalso have the same structure which leads to the chains' easy connection. Usually, chain rings and keyrings are incorporated within the wallets so that chains can be hooked effortlessly onto it. Most wallets are designed this way. However, there are also wallets that don't have rings inside them. Thus, we also came up with a list of simple and trouble-free ways on how to add a hole in your wallet!
Billfold and Long Wallets
The most common type of wallets are billfold and long ones. And many of these wallets don't have built-in keyrings or keychains. We are here to save you from the worries! We have enumerated some ways and tips on how to do or make your very own wallet rings! This would definitely save you plenty of fortunes!
Waxed Cotton Cord or Split Ring
The first thing you need to do is to prepare a hammer and a brad. These are necessary so you could punch a hole on the top of a wallet. Next, thoroughly slide the cord through the hole. Then, form a circle and knot it firmly-- this is to ensure the tightness of the tie, and it wouldn't loose. Waxed cotton cords are water resistant and durable. Thus, it is suitable for long lasting use and won't break easily!
An alternative for cotton cords is a split ring. It is tougher, but it is less flexible. That's why it is not expandable. When choosing a split ring, make sure that you opted for one that has a split so you can effortlessly and properly enclose the chain around it!
Voila! Now you have your own keyring or keychain which you just did all by yourself. It is DIY, cost-effective, simple and very easy to make!
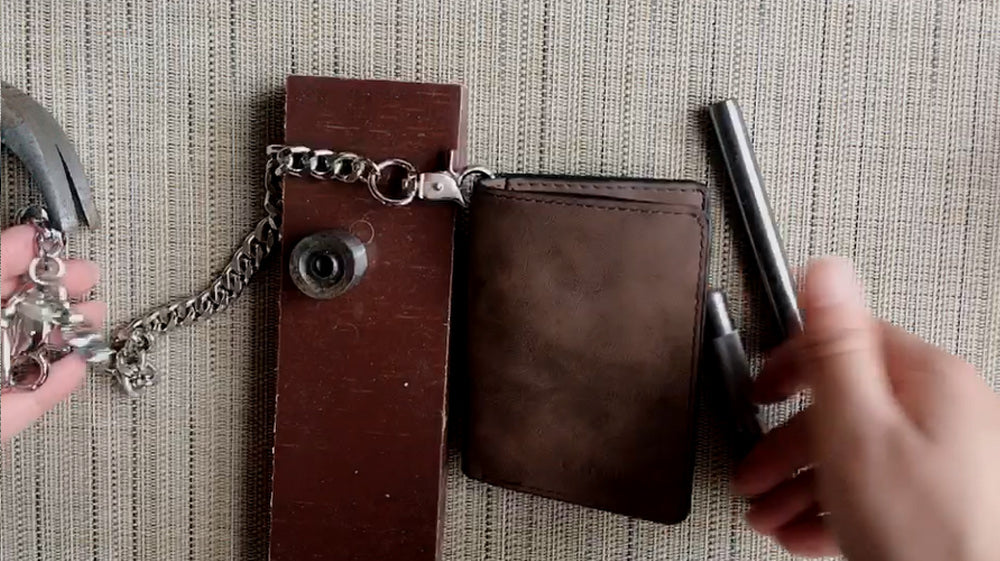
Chain Screw Connector
The use of a chain screw connector is also a great idea! Aside from its adorable style and profile, it is also unique and effortlessly effective! It comes in different colors. It is also strong enough as it is made of stainless steel. It comes in shades like silver, gold or brass. Installing it on wallets is very easy!
Again, you'll be needing a hammer and a brad. Of course, you will be using them to create a hole on the corner or top of a wallet or purse!
Next step: insert the screw connector into the hole and ensure that it suitably fits the size around it.
If you're already sure that it is securely connected to the wallet, clasp your the chain around the connector.
Finally, it is done! Go out and about as you pull off your chain wallet! Rock with style! Thanks to this amazing screw connector!
Grommet(Eyelets)
- And of course, the most low key type of keyring is grommet or an eyelet. This is what most minimalist people love! Aside from its straightforward and simple look, it is also not expensive!
You'll be needing a hammer and some specialized tools to insert a grommet in a wallet. See the pictures below to give you an idea of how they look. You can find and get these things from a hardware store or a stationery shop!
Carefully hammer the brad onto the wallet. Do this step repeatedly until it forms a hole on it.
Once a hole has been created, make sure that it fits or suits the grommet. You may take your time in doing or make necessary adjustments to perfect the hole and its size!
Gently insert the grommet inside the hole once you are done. It should be fitting appropriately and should not come out loose.
TIP: To make it fit better, you can use a short steel stick. You can also use it to double check or ensure if it is tightly enclosed around hole.
Finally, you have just completed your very own grommet keyring that perfectly fits your wallet chain. You can now use it to attach a chain to a wallet.
Showcasing your chain wallet is now made easier and more safe! You can now rock your wallets without the uneasiness or worries of them being stolen or slipping off your jeans and pants! Pull it off as you go on adventures fashionably!