
So, you've found the perfect wallet chain and you're ready to add some edge to your style. But now you're looking at your wallet and wondering, "How do I actually attach this thing?"
Don't worry—it's easier than you think. This guide will walk you through everything you need to know, starting with the wallets that make it simplest.
First, check if your wallet already has a built-in solution. If you own any of the following, you're in luck:
Biker Wallet or Chain Wallet: These are practically made for chains. They almost always come with a built-in D-ring, O-ring, or a dedicated leather loop specifically for attaching a chain. You can simply clip or loop your chain on—no extra steps needed.


Keychain Wallet: These wallets feature a small keyring (like a carabiner or a solid ring). This ring is perfect for clipping on a wallet chain, making the process instant.
If your wallet doesn't have one of these convenient features, don't fret! The following three methods will show you how to add a secure attachment point to virtually any wallet.
Best for: A quick, reversible, and tool-free solution. Perfect if you don't want to permanently alter your wallet.
This method is all about working with what you've got. Look for an existing seam, a pocket flap, or a sturdy loop on your wallet.
Using Waxed Cotton Cord: Thread a strong waxed cotton cord through a secure part of your wallet. Tie it tightly with a double knot to create a small, durable loop. The wax coating adds strength and water resistance. Once the loop is secure, attach your chain. It's gentle on your wallet and can be removed anytime without a trace.
Using a Split Ring: If you prefer a more rigid option, a heavy-duty split ring (like a large keyring) is a great alternative. Carefully slide the ring onto a leather tab or an existing loop. Once it's on, close the ring—it will provide a sturdy and reliable metal loop for your chain.
Verdict: This is the fastest way to get started. It requires no special tools and leaves your wallet completely unharmed.


Best for: A sturdy, semi-permanent attachment that looks professional but can be removed if needed.
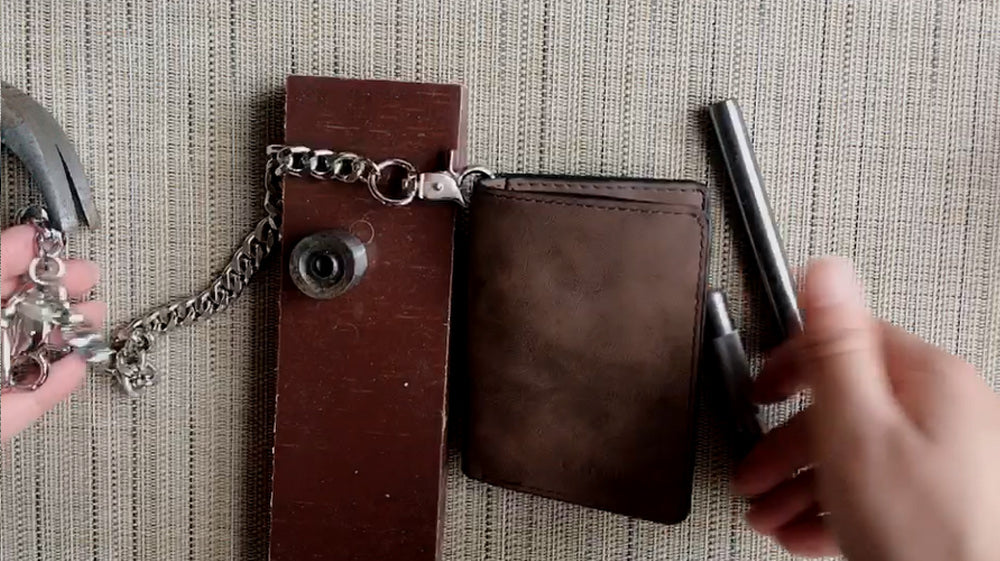
Chain screw connectors (also known as Chicago screws or post screws) offer a perfect balance of strength and flexibility. They consist of two parts: a screw post and a receptacle that fastens together, creating a low-profile metal loop.
How to install them:
Mark the Spot: Choose a discreet but sturdy location on your wallet, like a thick leather corner.
Create a Pilot Hole: Use an awl or a small leather punch to make a clean hole.
Insert the Screw: Push the screw post through the hole from the front.
Fasten It: Screw the receptacle piece on from the back until it is hand-tight and secure.
Attach Your Chain: Clip your wallet chain onto the newly installed loop.
Verdict: This method gives you a rock-solid connection that looks like it came with the wallet. You can unscrew it later, leaving only a small, often unnoticeable hole.


Best for: The most durable, heavy-duty, and clean-looking permanent attachment.
If you're sure you want your wallet chain to be a permanent fixture, grommets (or eyelets) are the way to go. This is the method used by many professional leatherworkers.
How to install them:
You will need a simple grommet kit, which includes the grommets, washers, and a setting tool.
Punch a Hole: Use a hole punch and a hammer to create a clean, round hole in your wallet's leather.
Insert the Grommet: Place the grommet (the front piece with the flange) through the hole from the top.
Add the Washer: Place the washer (the back piece) onto the post of the grommet on the underside.
Set the Grommet: Place the setting tool into the grommet and tap firmly with a hammer. This crimps the two pieces together, creating a smooth, permanent metal-reinforced hole.
Verdict: This is the strongest method available. Once set, a grommet won't pull out, ensuring your wallet chain stays attached for years to come. The result looks incredibly professional.


No matter what wallet you have, there's a safe and effective way to attach a chain to it. For a no-commitment trial, start with Method 1. If you want a perfect blend of strength and reversibility, Method 2 is your best bet. And for a permanent, pro-grade installation, Method 3 can't be beaten.